craftysuburbmomma

DIY Yarn Container

In Creative Fun, Crochet, Momma Must Have on December 29, 2014 at 8:22 pm

Paint Can Turned Yarn Container

I know it’s been a long time since I’ve been able to sit down and post something. Life with three children is crazier than I imagined and I have not had the time to post. I have been working on some awesome projects and recipes and I can’t wait to share to them with you.

Today I was at Hobby Lobby checking out their 80% off Christmas items. I saw some see through decorative paint cans and instantly realized that I could turn those into yarn containers. No more having the baby play in the yarn and create terrible knots. No more creating tangles because I wasn’t paying attention and the yarn got snagged under my chair. The pictures are not going to be great because I was in a big hurray to try it out. You know how us crafters are! I think any paint can would do. I choose these because they are fairly see through and they were only $1.40 a piece!

So pretty

So pretty

1. Take your paint can, any clean crafty can will do. The clear ones would be ideal so you can see how much yarn you have left.

Paint Can Top Paint Can Top Close-up

2. Drill a hole in the center of the top. I used a 5.5 drill bit.

Paint Can Top Inside

3. The inside of the lid is going to be rough, as the metal is going to be jagged and pointed. Take a hammer and strike flat against the hole on either side. This will flatten out the metal and make it smooth to the touch.

Paint Can Filled

4. Insert yarn and enjoy!

See how easy that was! Now you can keep your yarn safe and sound. I hope you all benefit from this as much as I am going to. Now that Christmas is over I  can start on projects just for the fun of it. As little man gets older and I get a handle on my new crazy life I hope to be able to share more tips, tricks, projects and recipes in the year to come.

Happy New Year and Happy Crafting!

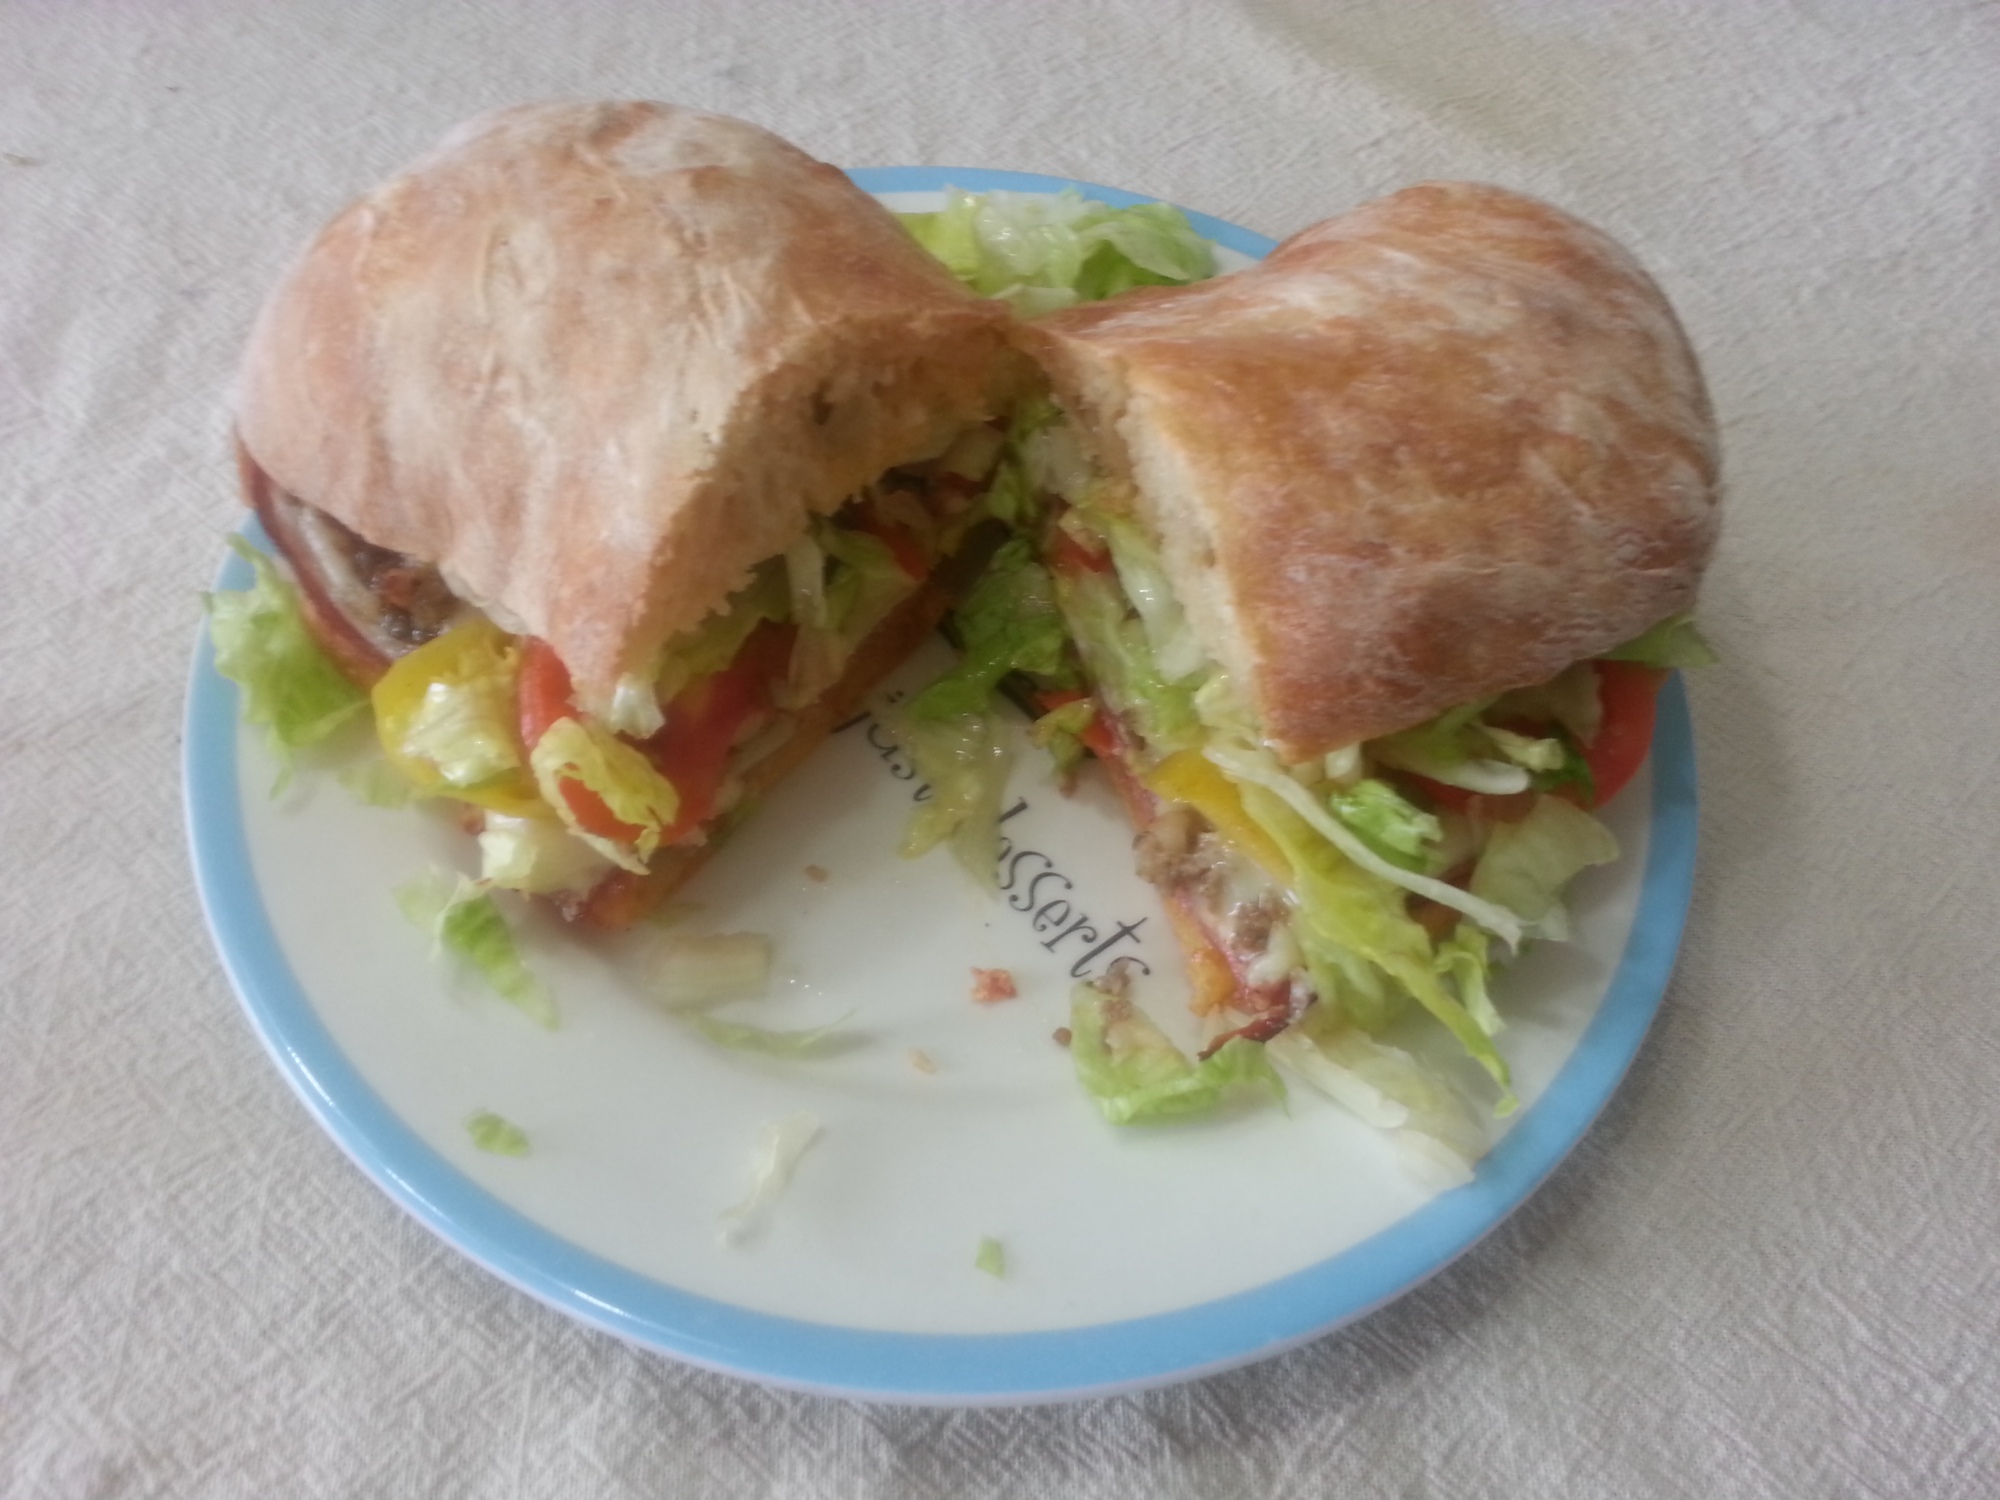
Fazoli’s Original Submarino Sandwich

In Uncategorized on November 10, 2014 at 11:19 am

image

I love these sandwiches from Fazoli’s.  They have been my favorite thing to order from there for years and I finally decieded to try and make them for myself.

Start with cibatta bread, cut it in half and its time to layer on the meat!
First layer: Pepperoni
Second layer: Hard Salami
Third Layer: Deli Ham
Forth Layer: Deli Turkey
Fifth Layer: Provolone Cheese ( I forgot to buy some so I used Provel cheese in this pic)
Sixth Layer: Italian Sausage

Now that you have all of your incredible layers it’s time to put your sandwiches in the oven to warm everything through and to melt the cheese.

image

Final layers: sliced tomatoes,  banana peppers, shredded lettuce and drizzled with red wine vinegar.

Serve warm and with a few napkins!

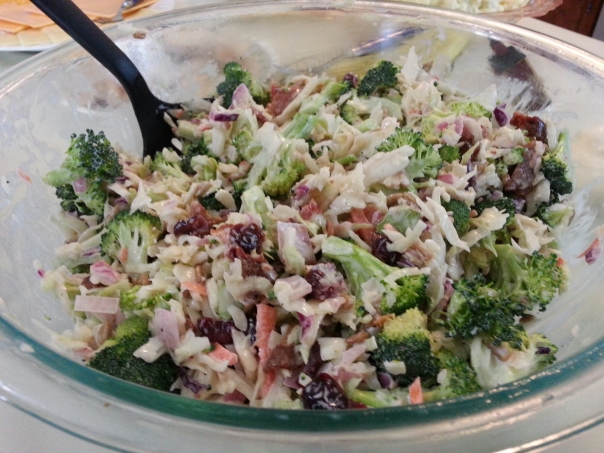
Broccoli Salad

In Recipes on September 19, 2014 at 9:54 pm

One Day we had gotten the broccoli salad from the local deli and the hubs and I loved it! It was fairly expensive per pound so I decided to look for a recipe to make it myself. This was the best one I had found and I took it a bit further to make it my own. This recipe feeds a small crowd so take that in consideration!
image

1 14oz. pkg Fresh Broccoli (About 3 crowns)

1/2 Head of Cabbage

2 Carrots, juilenned

1 Red Onion, diced

1 lb. Bacon

1/4c. Sunflower Kernels

2/3 c. Raisins (or Craisins)

Dressing:

1 c. Mayo

1/4 c. Apple Cider Vinegar

2 T. Dijon Mustard

1/2 t. Salt

1 t. Lemon Pepper

1/4 c. Sugar


Mix together ingredients for dressing and set aside. In a large bowl mix together broccoli, carrots, cabbage, and red onions. Mix thoroughly. Add dressing, Mix until just coated. Add in bacon, sunflower kernels and craisins. Refrigerate for at least 2 hours before serving.